
Real Estate Electrical Inspections: Step-by-Step Process, Compliance, and Cost Breakdown
Introduction: Why Electrical Inspections Matter in Real Estate
Electrical systems are the lifeblood of any modern property, powering everything from lighting and appliances to essential safety devices. Yet, electrical issues remain one of the most common—and potentially hazardous—problems uncovered during real estate transactions. Whether you’re a homeowner preparing to sell, a buyer evaluating your future investment, or a landlord ensuring ongoing compliance, understanding the electrical inspection process is critical. Not only do inspections contribute to property safety and value, but they also play a pivotal role in meeting legal requirements, preventing costly repairs, and uncovering hidden risks that could derail a sale or lead to insurance issues.
This comprehensive guide walks you through the step-by-step process of a professional electrical inspection in the context of real estate. We’ll break down compliance requirements, outline what inspectors look for, highlight common issues, and demystify the costs involved. Whether you’re preparing for a pre-sale inspection, due diligence as a buyer, or simply aiming to maintain a safe and code-compliant property, you’ll find practical, actionable advice to navigate every stage with confidence.
Understanding the Scope of Electrical Inspections
What Is an Electrical Inspection?
An electrical inspection is a thorough evaluation of a property’s wiring, circuit protection, outlets, fixtures, and panelboards to ensure they are safe, functional, and compliant with current codes. In real estate, these inspections are typically ordered during property transactions, renovations, or as part of regular maintenance for rental properties. They help identify hazards such as outdated wiring, improper installations, overloaded circuits, and fire risks before they become costly or dangerous problems.
When Are Electrical Inspections Required?
- During a property sale or purchase: Most buyers include an electrical inspection as part of the home inspection process.
- Before major renovations: Permits often require proof of code-compliant electrical systems.
- For insurance purposes: Insurers frequently demand updated inspections, especially for older homes.
- Periodic landlord compliance: Rental properties, particularly multifamily units, may require regular inspections under local ordinances.
Who Can Perform Electrical Inspections?
Only licensed electricians or certified home inspectors with specialized electrical training should conduct these inspections. Many municipalities have their own inspectors for code compliance, but pre-sale or pre-purchase inspections are often performed by third-party professionals. Always verify credentials and local requirements before scheduling.
Step-by-Step Electrical Inspection Process
1. Initial Assessment and Documentation Review
The inspector begins by reviewing any available records: previous inspection reports, renovation permits, or electrical upgrade documentation. This context helps identify potential problem areas, such as older panels or known code changes since the last update.
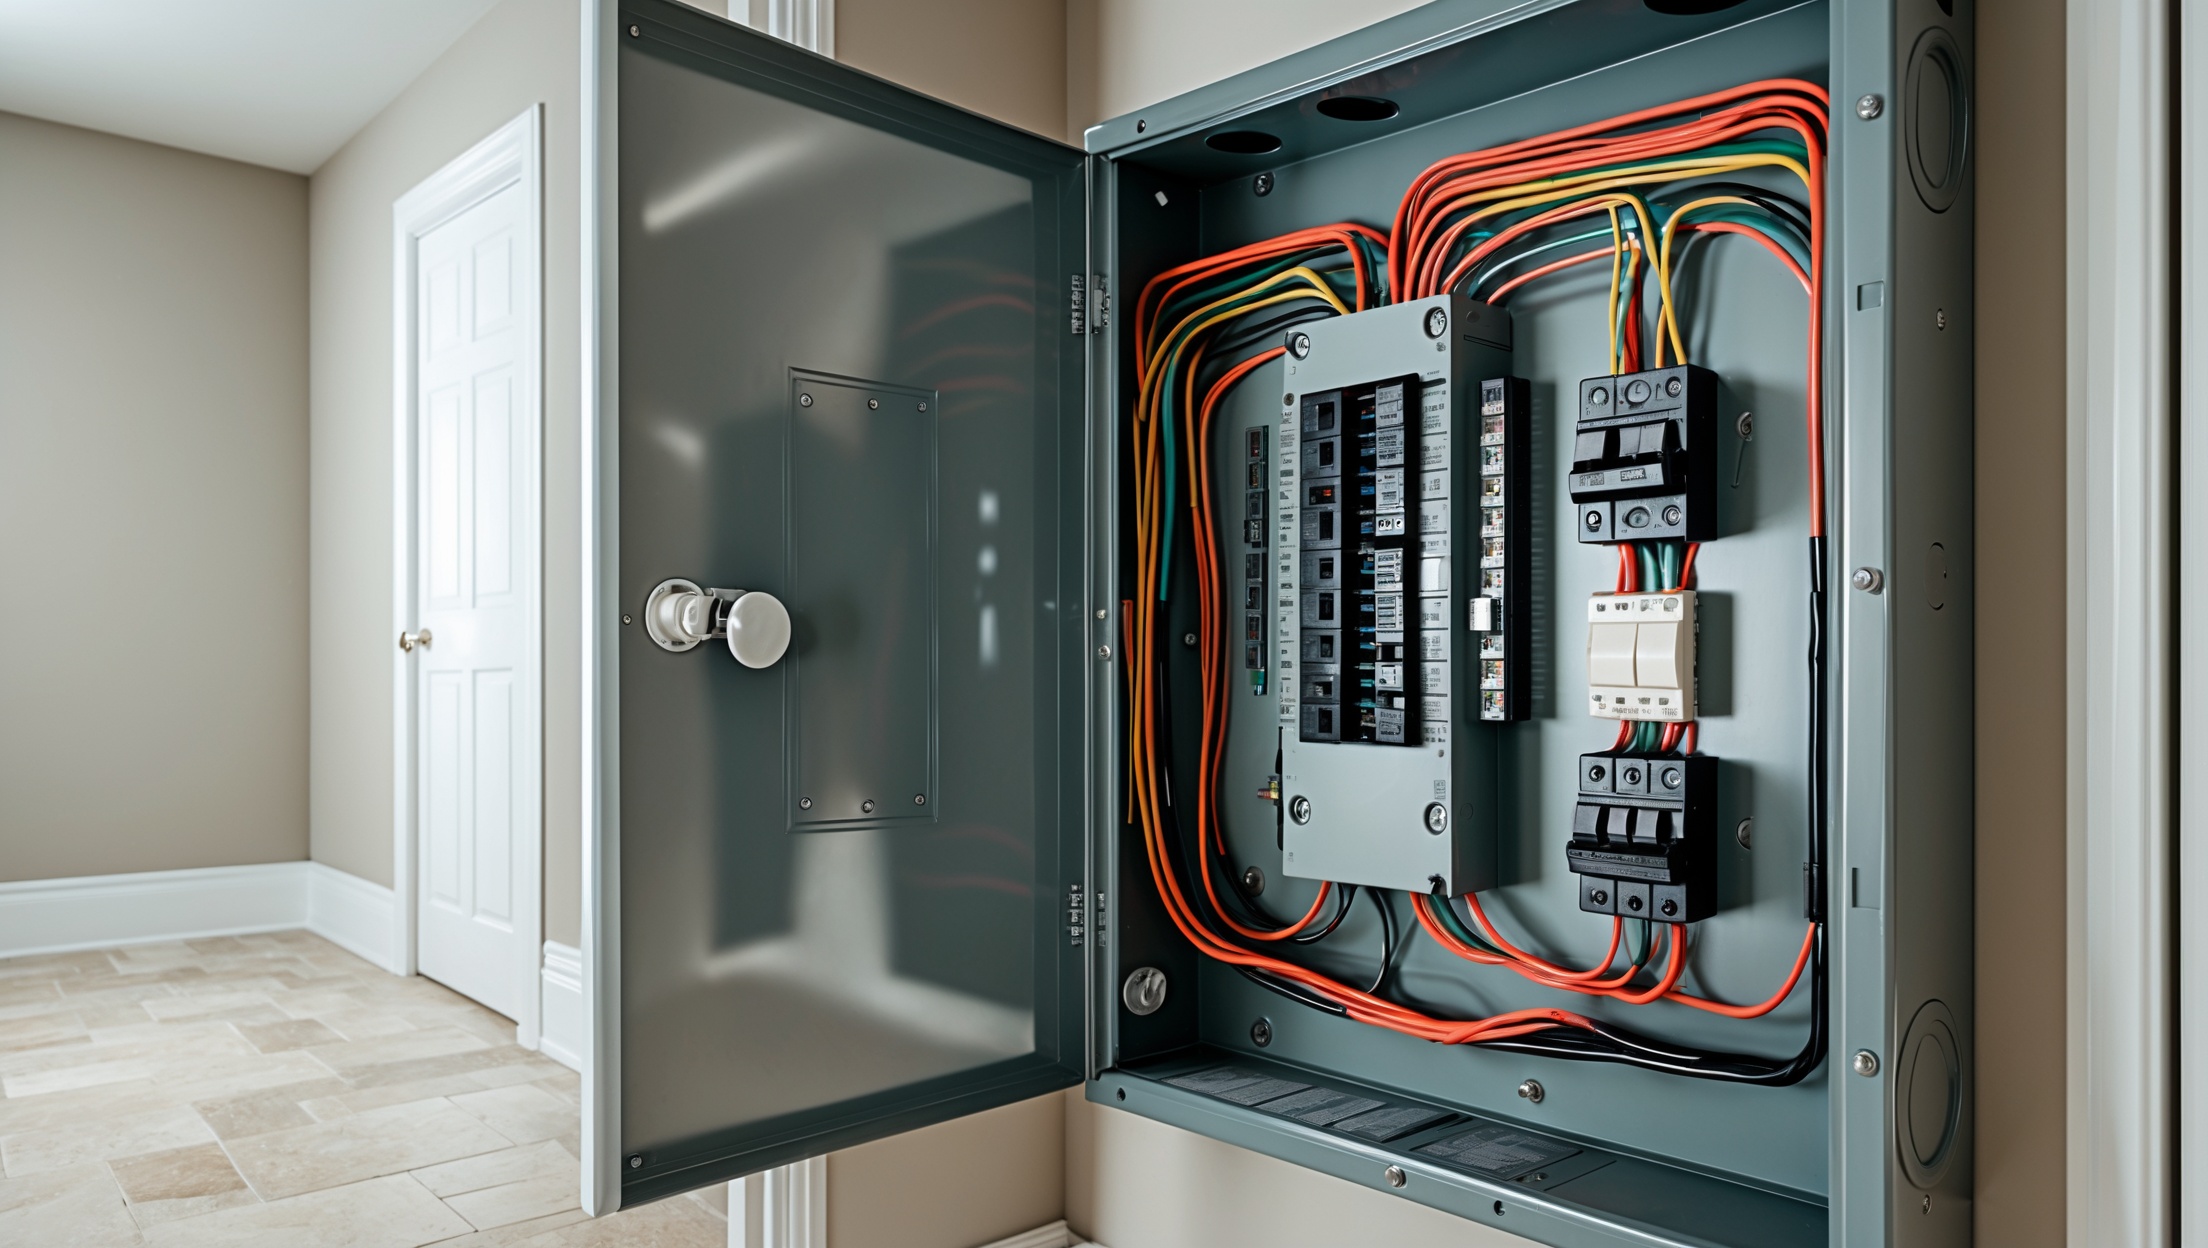
2. Main Service Panel Inspection
- Panel Access and Labeling: Inspector checks that the electrical panel is accessible and all breakers/circuits are clearly labeled.
- Breaker Condition: Looks for signs of overheating, corrosion, or mismatched breakers (e.g., double-tapped breakers or improper amperage).
- Panel Capacity: Assesses if service amperage (e.g., 100A, 200A) meets modern usage needs and is suitable for the property’s size.
- Bonding and Grounding: Verifies that the panel and system are properly bonded and grounded to prevent shock hazards.
3. Branch Circuit and Wiring Inspection
- Wiring Types: Identifies wiring materials (aluminum, copper, knob-and-tube, etc.) and checks for outdated or hazardous types.
- Condition and Protection: Looks for frayed insulation, splices outside of junction boxes, or exposed wiring.
- Conduit and Cable Routing: Ensures cables are properly secured and protected through walls, attics, and crawlspaces.
4. Outlet and Switch Testing
- Outlet Functionality: Tests all accessible outlets for power, polarity, and grounding.
- GFCI/AFCI Protection: Verifies that ground-fault (GFCI) and arc-fault (AFCI) outlets are installed in required areas (kitchens, bathrooms, laundry, bedrooms).
- Proper Cover Plates: Checks that all outlets and switches have intact, secure cover plates to prevent accidental contact.
5. Lighting and Fixture Checks
- Fixture Wiring: Ensures all light fixtures are properly wired and secured, with no exposed wires or missing junction boxes.
- Attic, Garage, and Exterior Lighting: Includes hard-to-reach or often-overlooked fixtures where wiring issues are common.
6. Smoke and Carbon Monoxide Detectors
- Presence and Placement: Confirms smoke and CO detectors are present in all required locations per code.
- Functionality: Tests detectors for proper operation and checks expiration dates on units.
7. Special Systems and Appliances
- HVAC, Water Heaters, and Major Appliances: Inspector checks for dedicated circuits, proper disconnects, and safe wiring to large equipment.
- Grounding of Metal Plumbing: Ensures metal plumbing systems are correctly bonded to the electrical system for safety.
8. Final Report and Recommendations
After completing the inspection, the professional provides a detailed report outlining all findings, code violations, safety concerns, and prioritized recommendations for repairs or upgrades. This report is critical for buyers, sellers, and landlords to understand the scope and urgency of any electrical issues.
Key Compliance Requirements and Common Code Violations
National and Local Codes
Most U.S. properties must comply with the National Electrical Code (NEC), which is updated every three years. However, states and municipalities often have additional requirements or enforce specific NEC editions. Always check with your local building department for current standards.
Frequent Code Violations Uncovered in Real Estate Inspections
- Ungrounded Outlets: Especially in pre-1960s homes, ungrounded two-prong outlets are a common hazard.
- Improper GFCI/AFCI Installation: Missing or incorrectly wired safety outlets in kitchens, bathrooms, or bedrooms.
- Double-Tapped Breakers: Multiple wires under a single breaker lug, which can lead to overheating.
- Over-fused Circuits: Breakers or fuses with amperage ratings higher than the circuit wiring can safely handle.
- Exposed or Spliced Wiring: Open-air splices or non-code connections in attics, garages, or crawlspaces.
- Missing Junction Box Covers: Exposed wiring increases the risk of shock and fire.
- Improper Panel Bonding/Grounding: Missing or loose ground/bonding connections at the panel or subpanels.
- Outdated Panels (e.g., Federal Pacific, Zinsco): Certain brands/models are known fire hazards and are flagged for replacement.
Cost Breakdown: What to Expect for Electrical Inspections and Repairs
Inspection Costs
- Basic Electrical Inspection: $150–$350 for most single-family homes, depending on region and home size.
- Comprehensive Electrical Assessment: $400–$700 for large properties, multifamily units, or homes with complex systems.
- Specialty Inspections: Additional fees for infrared scanning, panel load calculations, or insurance-driven assessments may apply.
Repair and Upgrade Estimates
- GFCI Outlet Installation: $100–$200 per outlet (parts and labor).
- Panel Upgrade (e.g., 100A to 200A): $1,500–$3,500 depending on panel type and local permitting fees.
- Wiring Replacement: $3,000–$10,000+ for whole-house rewiring (varies with square footage, access, and wiring type).
- Minor Repairs: Replacing a breaker, fixing a junction box, or correcting a double-tap typically ranges from $100–$500.
Always obtain multiple quotes for significant repairs and ensure work is performed by licensed, insured electricians. Many repairs also require permits and municipal inspections.
Preparing for an Electrical Inspection: Seller, Buyer, and Landlord Tips
For Sellers
- Review Past Reports: Gather any previous inspection or repair documentation for the inspector’s reference.
- Clear Access: Ensure the electrical panel, attic, crawlspace, and outlets are accessible and not blocked by storage.
- Address Minor Issues: Replace broken cover plates, test GFCIs, and tighten loose outlets in advance to avoid red flags.
For Buyers
- Be Present: Attend the inspection if possible and ask questions about any flagged issues or recommended upgrades.
- Prioritize Safety: Use the inspection report to negotiate repairs or credits, especially for high-risk code violations.
- Budget for Upgrades: Factor in potential costs for panel upgrades, GFCI installation, or rewiring in older homes.
For Landlords
- Stay Current: Schedule periodic inspections as required by law or insurance, especially for multifamily or older rental properties.
- Document Repairs: Keep detailed records of all electrical work and share inspection reports with tenants if required.
- Proactive Maintenance: Address recurring issues (tripped breakers, flickering lights) promptly to minimize liability and downtime.
Safety Checklist: What Inspectors Look for (and You Should Too)
- Accessible, clearly labeled main electrical panel
- Proper grounding and bonding at panel and subpanels
- No evidence of overheating, corrosion, or burnt wiring in panel
- All outlets and switches have secure, undamaged cover plates
- GFCI protection in kitchens, bathrooms, laundry, garages, and outdoor outlets
- AFCI protection in bedrooms and living areas (as required by code)
- No double-tapped or over-fused breakers
- No exposed splices or open junction boxes
- Wiring in good condition—no frayed insulation or unprotected runs
- Smoke and carbon monoxide detectors installed and operational in required locations
Electrical Inspection Myths Debunked
- Myth: “If it works, it’s safe.” Many dangerous conditions—such as ungrounded outlets or overloaded circuits—may function normally but still pose severe risks.
- Myth: “Older homes are grandfathered in.” While some aspects are grandfathered, major safety upgrades (like GFCIs or panel replacements) are often required before sale or by insurers.
- Myth: “DIY repairs are fine for minor issues.” Any electrical work should be done by licensed professionals to ensure code compliance and avoid voiding insurance or warranties.
Conclusion: Making Electrical Safety a Real Estate Priority
Electrical inspections are more than just a bureaucratic hurdle in real estate—they are essential for protecting property value, occupant safety, and legal compliance. Whether you’re preparing to sell, purchasing a new home, or managing rental units, a thorough electrical inspection delivers crucial insights that can prevent fires, injuries, and expensive surprises. Understanding the inspection process, code requirements, and common pitfalls empowers you to make informed decisions, negotiate effectively, and plan for any necessary repairs or upgrades.
Investing in professional inspections and timely electrical upgrades not only ensures your property meets local and national standards, but also provides peace of mind for everyone involved—buyers, sellers, landlords, and tenants alike. By following the step-by-step process outlined in this guide, addressing issues proactively, and budgeting for electrical safety, you can enhance your property’s appeal, avoid legal obstacles, and foster a safer living environment. Make electrical safety a priority in your real estate journey, and you’ll reap the financial and personal rewards for years to come.
4 thoughts on “Real Estate Electrical Inspections: Step-by-Step Process, Compliance, and Cost Breakdown”
Leave a Reply

Related Posts
A Real Estate Investor’s Guide to Mold Prevention, Remediation, and Compliance
Navigating Asbestos in Real Estate: Identification, Compliance, and Safe Remediation
As a landlord, I want to make sure my rental property is up to code. Can you clarify which parts of the electrical system inspectors pay the most attention to during a regular maintenance inspection?
Inspectors typically focus on key safety areas during a maintenance inspection. They pay close attention to the main service panel, circuit breakers, grounding systems, visible wiring, outlets, and switches. Inspectors also check for any exposed or deteriorated wires, proper labeling, functioning GFCI outlets in kitchens and bathrooms, and the overall condition of electrical fixtures. Ensuring these elements meet code is essential for both safety and compliance.
If a landlord wants to ensure their rental remains code-compliant between tenants, how often should they schedule electrical inspections beyond the usual pre-sale or renovation periods you mentioned?
For rental properties, it’s generally recommended to have a professional electrical inspection at least every 3 to 5 years, even if you’re not selling or renovating. Additionally, a routine check between tenants is wise, especially if the previous tenant stayed for several years or reported electrical issues. Local regulations may also set specific inspection intervals, so it’s important to confirm any requirements in your area.