Proven Real Estate Photography Strategies: Boosting Listings with Visual Impact
Introduction: Unlocking the Power of Real Estate Photography
In today’s digital-first real estate market, the images you use to present your property can make the difference between a quick sale and a stagnant listing. Gone are the days when a simple snapshot would suffice. Buyers now scroll through hundreds of listings, making split-second decisions based on the quality of the visuals. High-impact real estate photography isn’t just about having a good camera—it’s a blend of strategic preparation, technical skill, and a keen understanding of what buyers want to see. This guide explores actionable, proven strategies for creating listing photos that grab attention, build trust, and drive viewings. Whether you’re a real estate agent, investor, or DIY seller, mastering these techniques can exponentially increase the perceived value of your property, reduce time on market, and even boost final sale prices. Let’s dive into the practical steps and tools that will transform your property images from average to outstanding.
Why Real Estate Photography Matters
The statistics are clear: listings with professional-quality photos generate more interest and sell faster than those with basic snapshots. According to a National Association of Realtors report, 87% of home buyers found photos very useful in their decision-making process. High-quality images:
- Attract more online views and inquiries
- Help listings stand out in crowded marketplaces
- Convey a sense of professionalism and trustworthiness
- Enable buyers to visualize living in the space
- Often lead to higher sale prices and quicker transactions
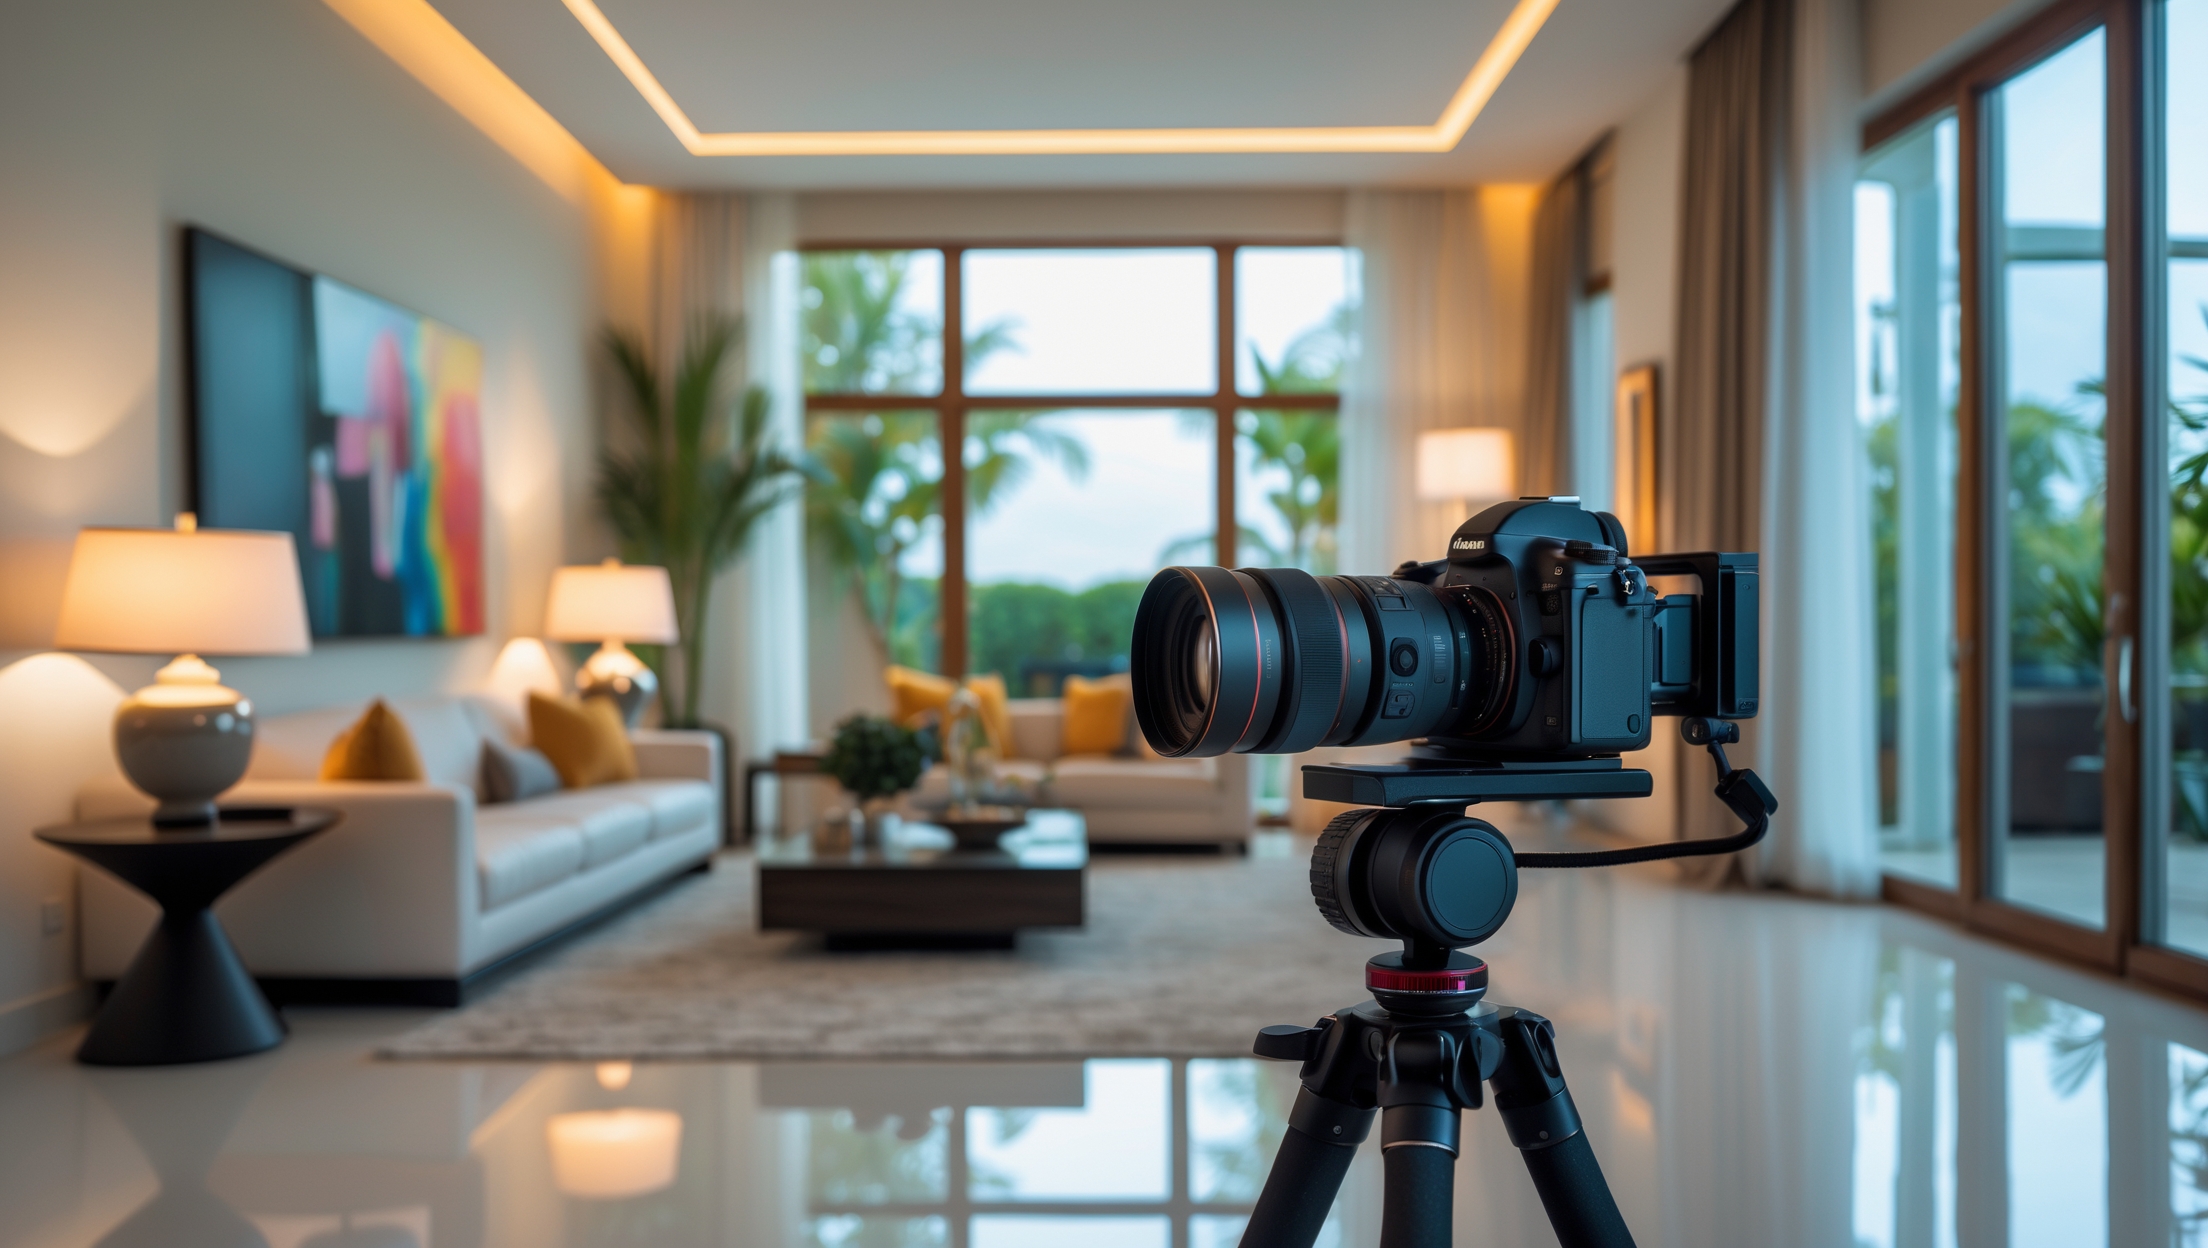
Essential Equipment for Standout Real Estate Photos
While smartphones have improved, dedicated equipment still delivers the best results. Here’s what you’ll need for professional-grade images:
Camera
A DSLR or mirrorless camera with a large sensor provides the best image quality. Look for models with manual settings and interchangeable lenses.
Lenses
- Wide-Angle Lens (16–24mm): Essential for capturing entire rooms in a single shot and making spaces appear larger.
- Prime Lens (35mm or 50mm): Useful for detail shots or smaller areas.
Tripod
Stability is crucial for sharp images, especially in low light. A sturdy tripod also ensures consistent framing across shots.
Remote Shutter Release or Timer
Prevents camera shake when taking photos, resulting in sharper images.
Lighting Equipment
- External Flashes: Help balance light in darker rooms.
- Light Stands and Umbrellas: Useful for softening harsh shadows.
Editing Software
Programs like Adobe Lightroom or Photoshop allow for color correction, exposure adjustments, and lens distortion fixes.
Pre-Photography Preparation: Setting the Stage
Staging and preparation are just as critical as camera settings. Here’s how to optimize your property before the shoot:
Declutter and Clean Thoroughly
- Remove personal items, excess furniture, and visible cords.
- Clean all surfaces, windows, and floors for a polished look.
Stage Key Areas
- Arrange furniture to highlight space and flow.
- Add fresh flowers, neutral artwork, and accent pillows for warmth.
- Set dining tables with simple place settings to suggest lifestyle.
Maximize Natural Light
- Open curtains and blinds to let in as much daylight as possible.
- Turn on all interior lights to avoid dark corners.
- Schedule shoots for midday when sunlight is soft and even.
Check the Exterior
- Mow lawns, trim hedges, and sweep driveways.
- Remove cars, garbage bins, and clutter from sight.
- Stage patios or balconies with simple outdoor furniture.
Shooting Techniques for Maximum Impact
With preparation complete, it’s time to capture your images. Here are field-tested techniques to make your listing photos stand out:
Composition Fundamentals
- Shoot from Chest Height: Keeping the camera about 4–5 feet off the floor creates natural, inviting perspectives.
- Use the Rule of Thirds: Place key features (like fireplaces or windows) off-center for balanced, dynamic images.
- Highlight Room Flow: Position yourself so hallways and doors are visible, suggesting spaciousness and layout.
Camera Settings
- Aperture: f/8 to f/11 provides sharpness throughout the scene.
- ISO: Keep ISO low (100–400) to minimize noise.
- Shutter Speed: Use a tripod for slower shutter speeds if necessary—especially in low light.
- White Balance: Match to the dominant light source to ensure accurate colors.
Angles and Framing
- Photograph each main room from at least two corners to showcase space.
- Avoid extreme wide angles that distort room proportions.
- Keep vertical lines (walls, door frames) as straight as possible using the camera’s built-in level or grid.
Detail Shots
- Capture attractive architectural features: moldings, built-in shelving, unique light fixtures.
- Include shots of upgrades like new appliances or custom cabinetry.
- Highlight outdoor amenities: gardens, pools, or patios.
Editing for Professional Results
Post-processing is where your images go from good to great. Here’s a practical workflow:
Basic Corrections
- Adjust exposure and contrast for bright, clear images.
- Correct white balance so whites look neutral and colors are accurate.
- Straighten images and fix lens distortions, especially for wide-angle shots.
Advanced Touches
- Use the clone or healing tool to remove small blemishes or distractions (such as outlet covers or light switches).
- Enhance vibrance slightly, but avoid over-saturation.
- Blend multiple exposures (HDR) for rooms with tricky lighting—this ensures bright windows don’t blow out and shadows retain detail.
Consistency is Key
- Apply similar edits across all images for a cohesive look throughout your listing.
- Export at high resolution for MLS and web use, but keep file sizes optimized for fast loading.
Staging and Photography: Room-by-Room Guide
Each space presents unique opportunities and challenges. Here’s how to photograph the most important areas:
Living Room
- Highlight natural gathering spaces by arranging seating around a focal point (fireplace, window, or TV).
- Remove excess furniture to create an open feel.
- Include at least one wide shot and one detail shot.
Kitchen
- Clear countertops except for a few stylish items (fruit bowl, flowers).
- Turn on all lights, including under-cabinet fixtures.
- Showcase appliances and unique features like islands or backsplashes.
Bedrooms
- Make beds with clean, neutral linens and add a decorative pillow or throw.
- Remove personal items and keep nightstands tidy.
- Open curtains to maximize light and views.
Bathrooms
- Remove toiletries and close toilet lids.
- Hang fresh towels and add a small plant or candle for warmth.
- Shoot from the doorway for the widest view.
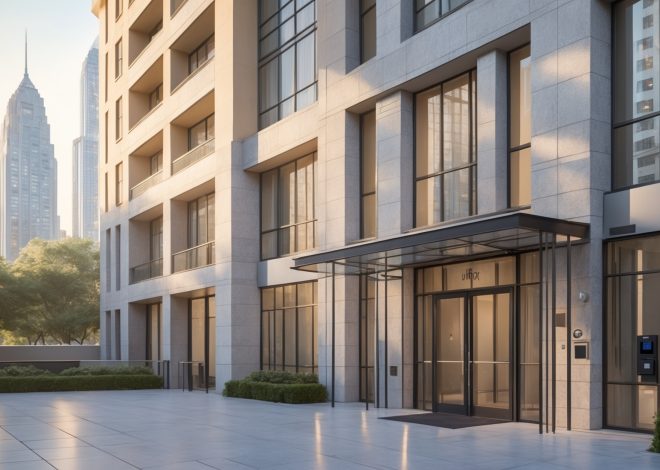
Exterior and Outdoor Spaces
- Photograph the property from multiple angles—front, back, and sides.
- Shoot during the golden hour (just after sunrise or before sunset) for soft, flattering light.
- Capture landscaping, patios, pools, and any unique outdoor features.
Marketing Your Photos for Maximum Exposure
Great images are only effective if they reach the right audience. Here’s how to maximize your investment in real estate photography:
MLS and Listing Sites
- Follow platform guidelines for image dimensions and file sizes.
- Lead with the strongest exterior or living room photo as the main image.
- Arrange images in a logical sequence that mirrors a walkthrough of the property.
Social Media
- Post your best photos on platforms like Instagram, Facebook, and Pinterest with relevant hashtags (#DreamHome, #JustListed).
- Use Instagram Stories or Facebook albums to create virtual tours.
- Tag local businesses or neighborhoods to expand reach.
Virtual Tours and Video
- Convert still images into virtual walkthroughs using free or paid software.
- Use video slideshows or 3D tours to offer immersive experiences.
Email Marketing
- Include top images in newsletters and listing announcements.
- Personalize messages with images that highlight the home’s best features for targeted buyers.
Common Mistakes to Avoid
Even with great equipment and preparation, simple errors can undermine your efforts. Watch out for these common pitfalls:
- Over-editing: Excessive saturation or unnatural HDR effects can make photos look fake and discourage buyers.
- Ignoring Small Details: Missed clutter, personal items, or smudged mirrors can ruin an otherwise perfect shot.
- Skewed Angles: Slanted walls or ceilings distract from the true look of a space—always keep lines straight.
- Poor Lighting: Dark, grainy images are a major turnoff; use supplemental lighting if needed.
- Not Showing Enough: Too few photos or missing key rooms leaves buyers guessing and may reduce interest.
Case Study: Transforming a Listing with Photography
Consider a three-bedroom home in a competitive suburb. The initial listing used smartphone photos with poor lighting and cluttered rooms. The property sat unsold for months with little buyer interest. After investing in professional staging and a dedicated real estate photographer, the new images showcased bright, clean rooms and inviting outdoor spaces. Within two weeks, online inquiries tripled, and the home sold above asking price. The difference? Strategic photography that highlighted the property’s strengths and created an emotional connection with buyers.
Conclusion: Your Action Plan for Real Estate Photography Success
Effective real estate photography is more than a technical exercise—it’s a marketing strategy that shapes buyer perceptions and drives results. By investing time in preparation, mastering key shooting and editing techniques, and presenting your property in its best light (literally and figuratively), you can dramatically increase listing visibility, attract more qualified buyers, and maximize your sale price. Remember, today’s buyers expect more than a basic glimpse—they want to imagine themselves living in the space. Consistently applying these proven strategies will set your listings apart in a crowded market.
Start by gathering the right equipment and familiarizing yourself with your camera’s manual settings. Prioritize thorough property preparation and staging, then focus on capturing clear, well-composed images that tell the story of each room. Dedicate attention to editing for a clean, inviting finish, and distribute your photos strategically across listing sites and social media. Avoid common pitfalls by checking every detail and maintaining consistency. With these steps, you’ll not only elevate your own listings but also build a reputation for professionalism and quality—two assets that never go out of style in real estate.


You mention that a DSLR or mirrorless camera with interchangeable lenses is best for real estate photos. For someone just starting out on a tight budget, would you recommend any entry-level camera models or is it possible to get good results with certain smartphones?
You can absolutely get started with a good smartphone, especially if it has a quality camera and you use features like HDR and wide-angle mode. For entry-level cameras, consider models like the Canon EOS Rebel series or the Nikon D3500, which are both affordable and have interchangeable lenses. As your budget allows, upgrading to a dedicated camera will give you even more control over your results, but many successful beginners start with smartphones and achieve impressive results.